
Every photographer develops their own editing techniques, many that with grow, change and alter with time. I myself am no different. When I first started as a photographer making my images art was important to me but as I took clients on it became about creating the images they needed.
I adapted my styles to my client needs and with that my editing. Over the years even my photography style adapted to the work I was doing to speed up my time in post. I photograph mostly in a photojournalistic style these days and my post work is more touch up than deep dive and manipulation. In fact my manipulation usually comes in when I am designing graphics or book covers than delivering work for my photography clients.
As a photographer most of my work is accomplished in camera. Therefore my editing is fairly simple. I, unlike many photographers you will meet or read blogs from, do not use Adobe Lightroom in my editing process preferring instead to use Adobe Bridge.
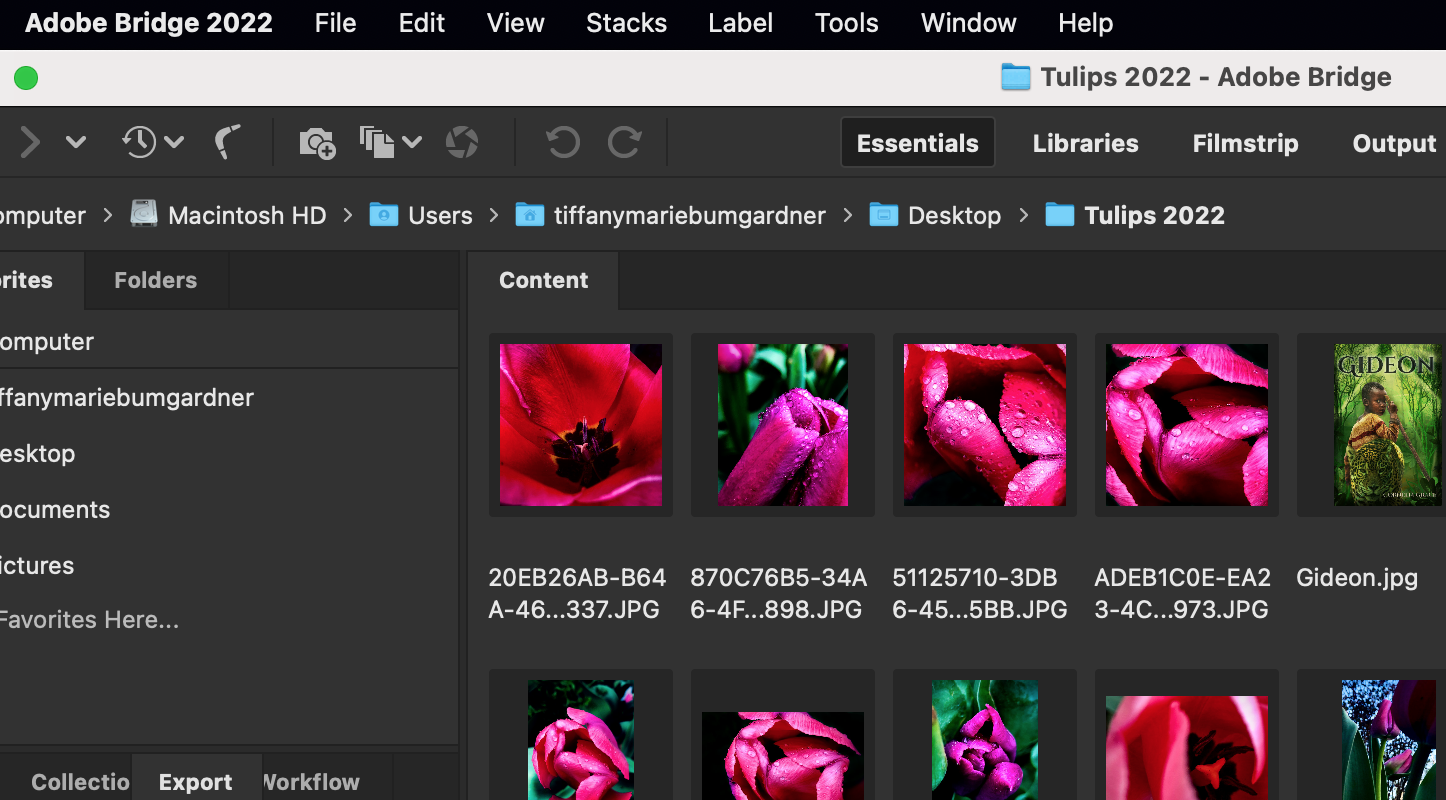
The Bridge screen and layout.
Once I have the files open in Bridge— the files being RAW images— I tend to edit in large batches in the RAW editor.
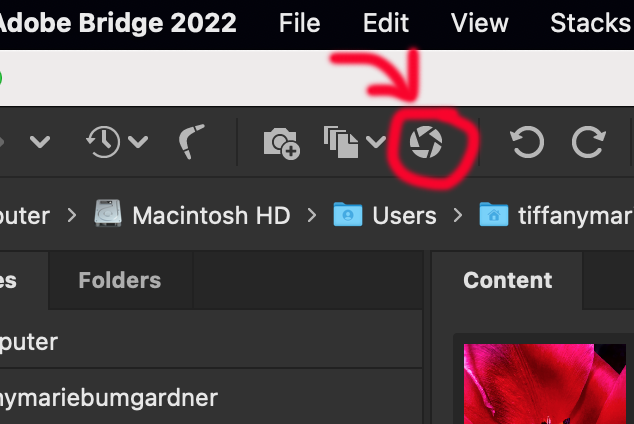
Raw Editor

Raw Editing screen
This is the screen I make nearly all my edits in. Usually I will delete duplicate images, and I do 200 images at a time.
My primary tools are the ones showing. They allow me to manipulate the highlights, midtowns, and shadows of the raw images, where I can add a clarity boost, and crop as necessary. It’s all very basic and very minimal editing, this software is my quick fix and culling haven.
Once those changes are made I send the images to photoshop for final edits and then then saving as a viewable internet ready file— aka a JPG.
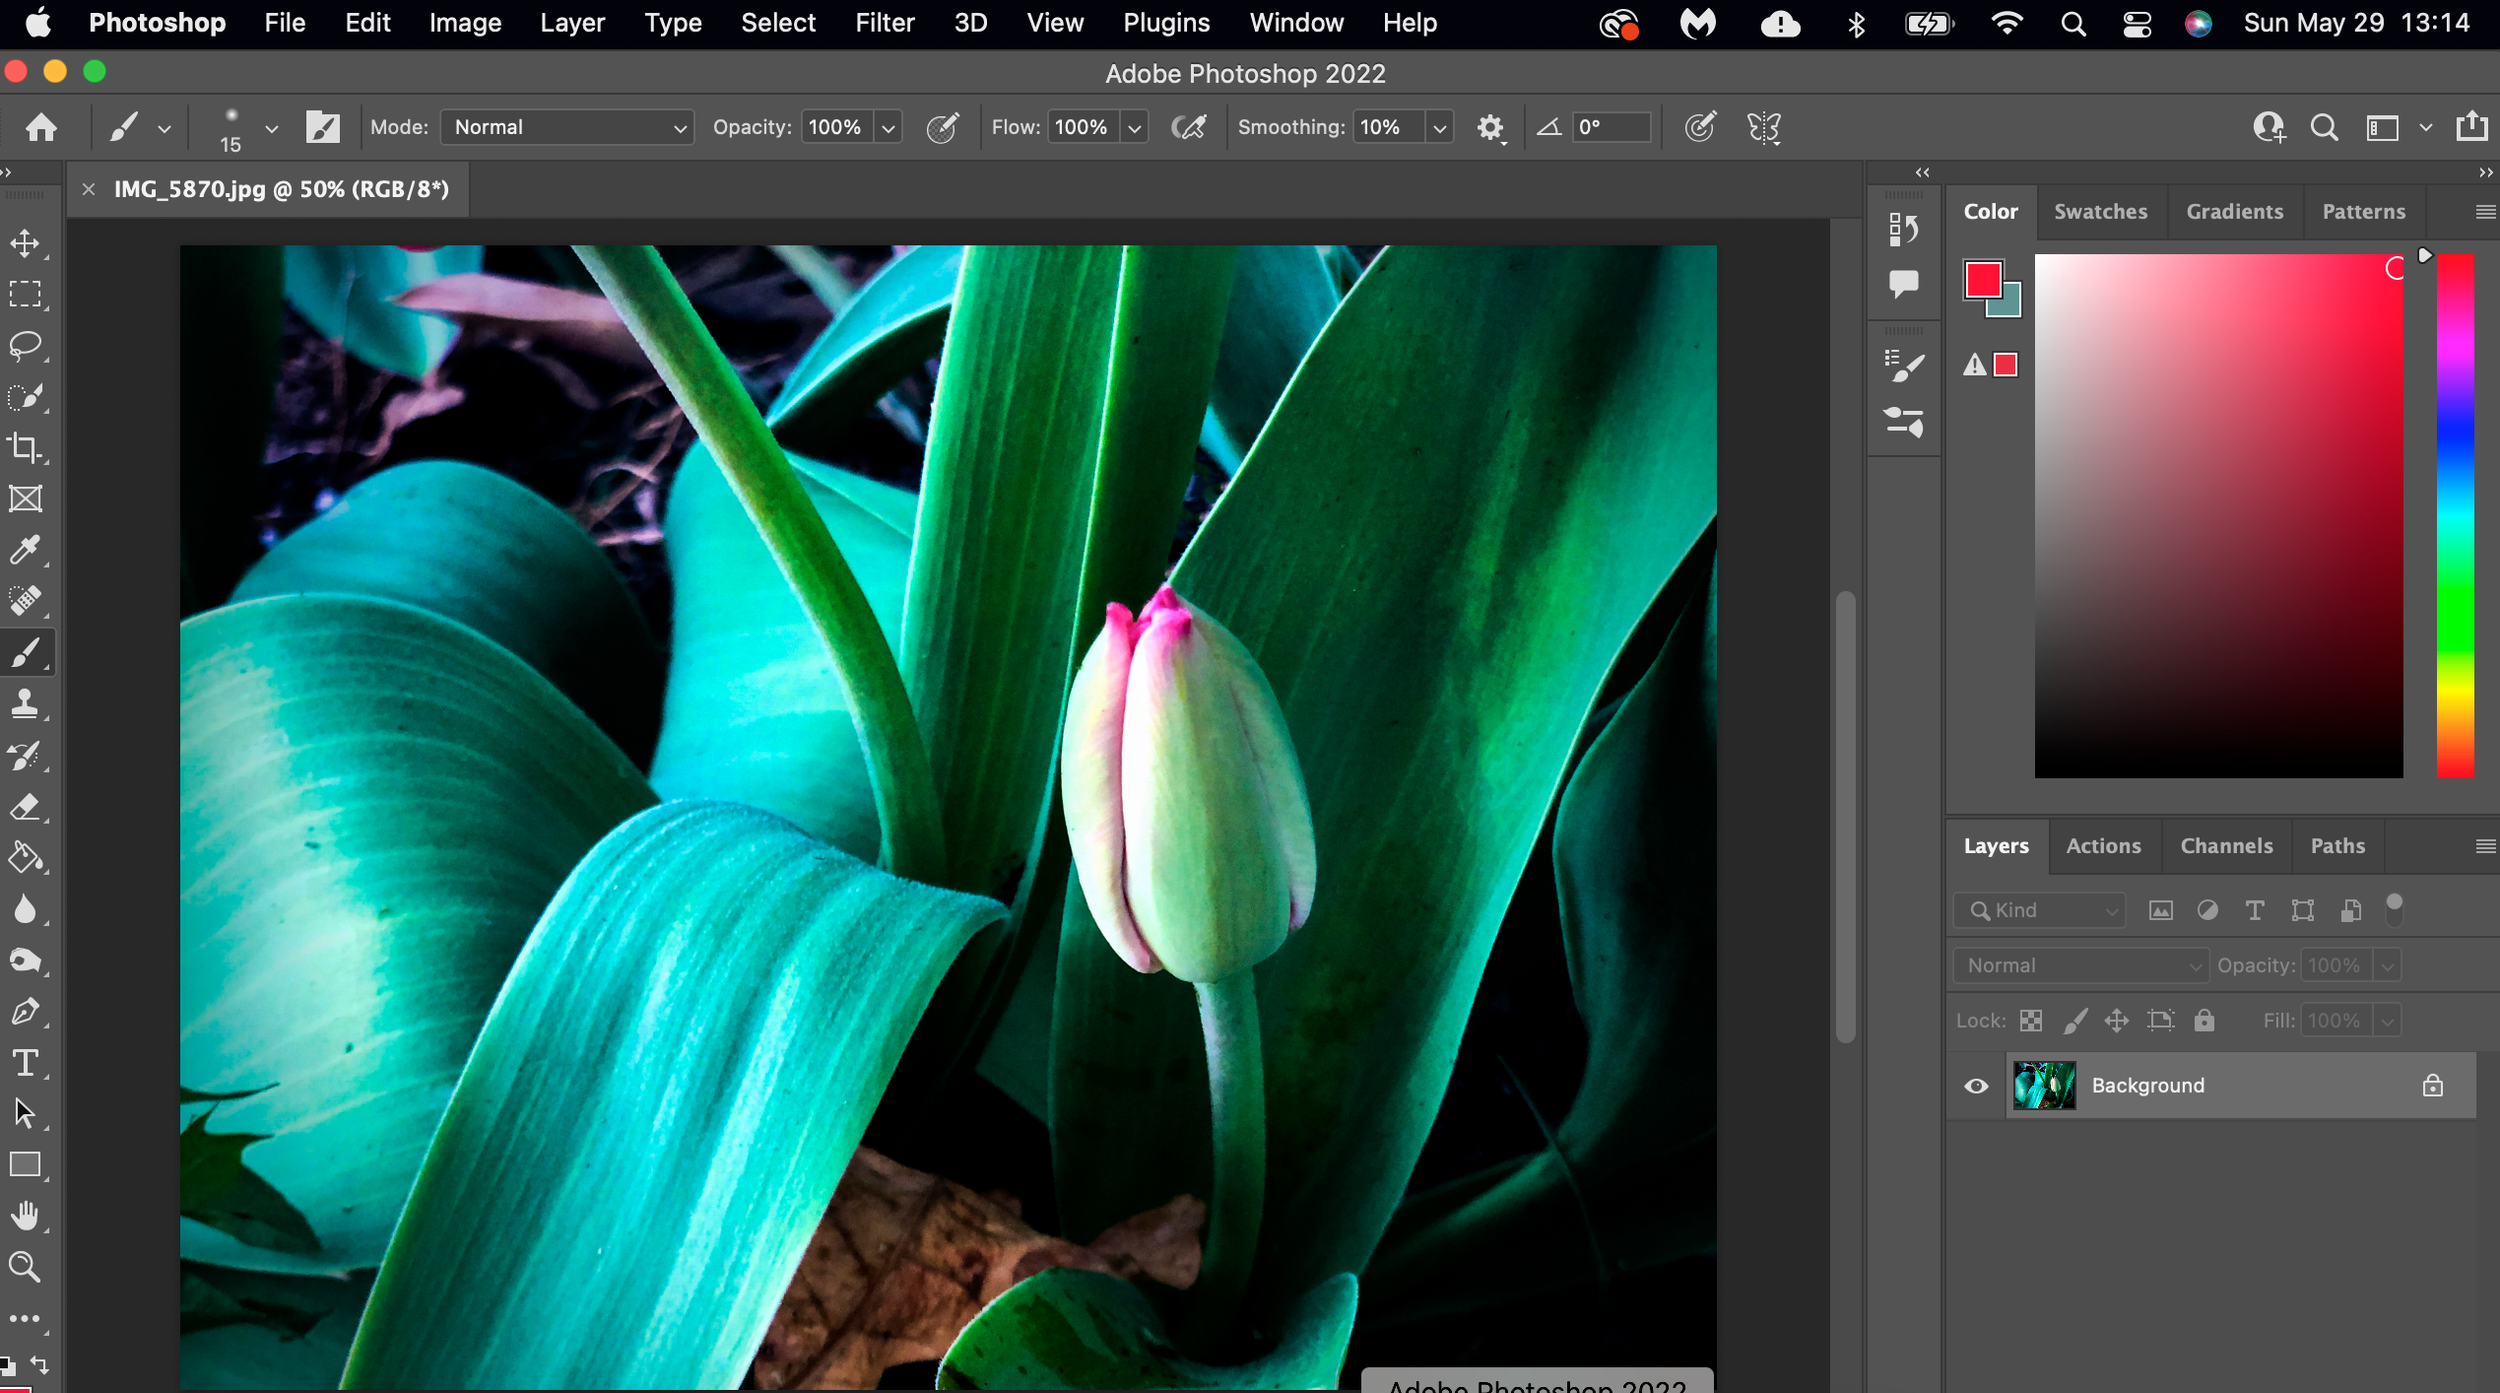
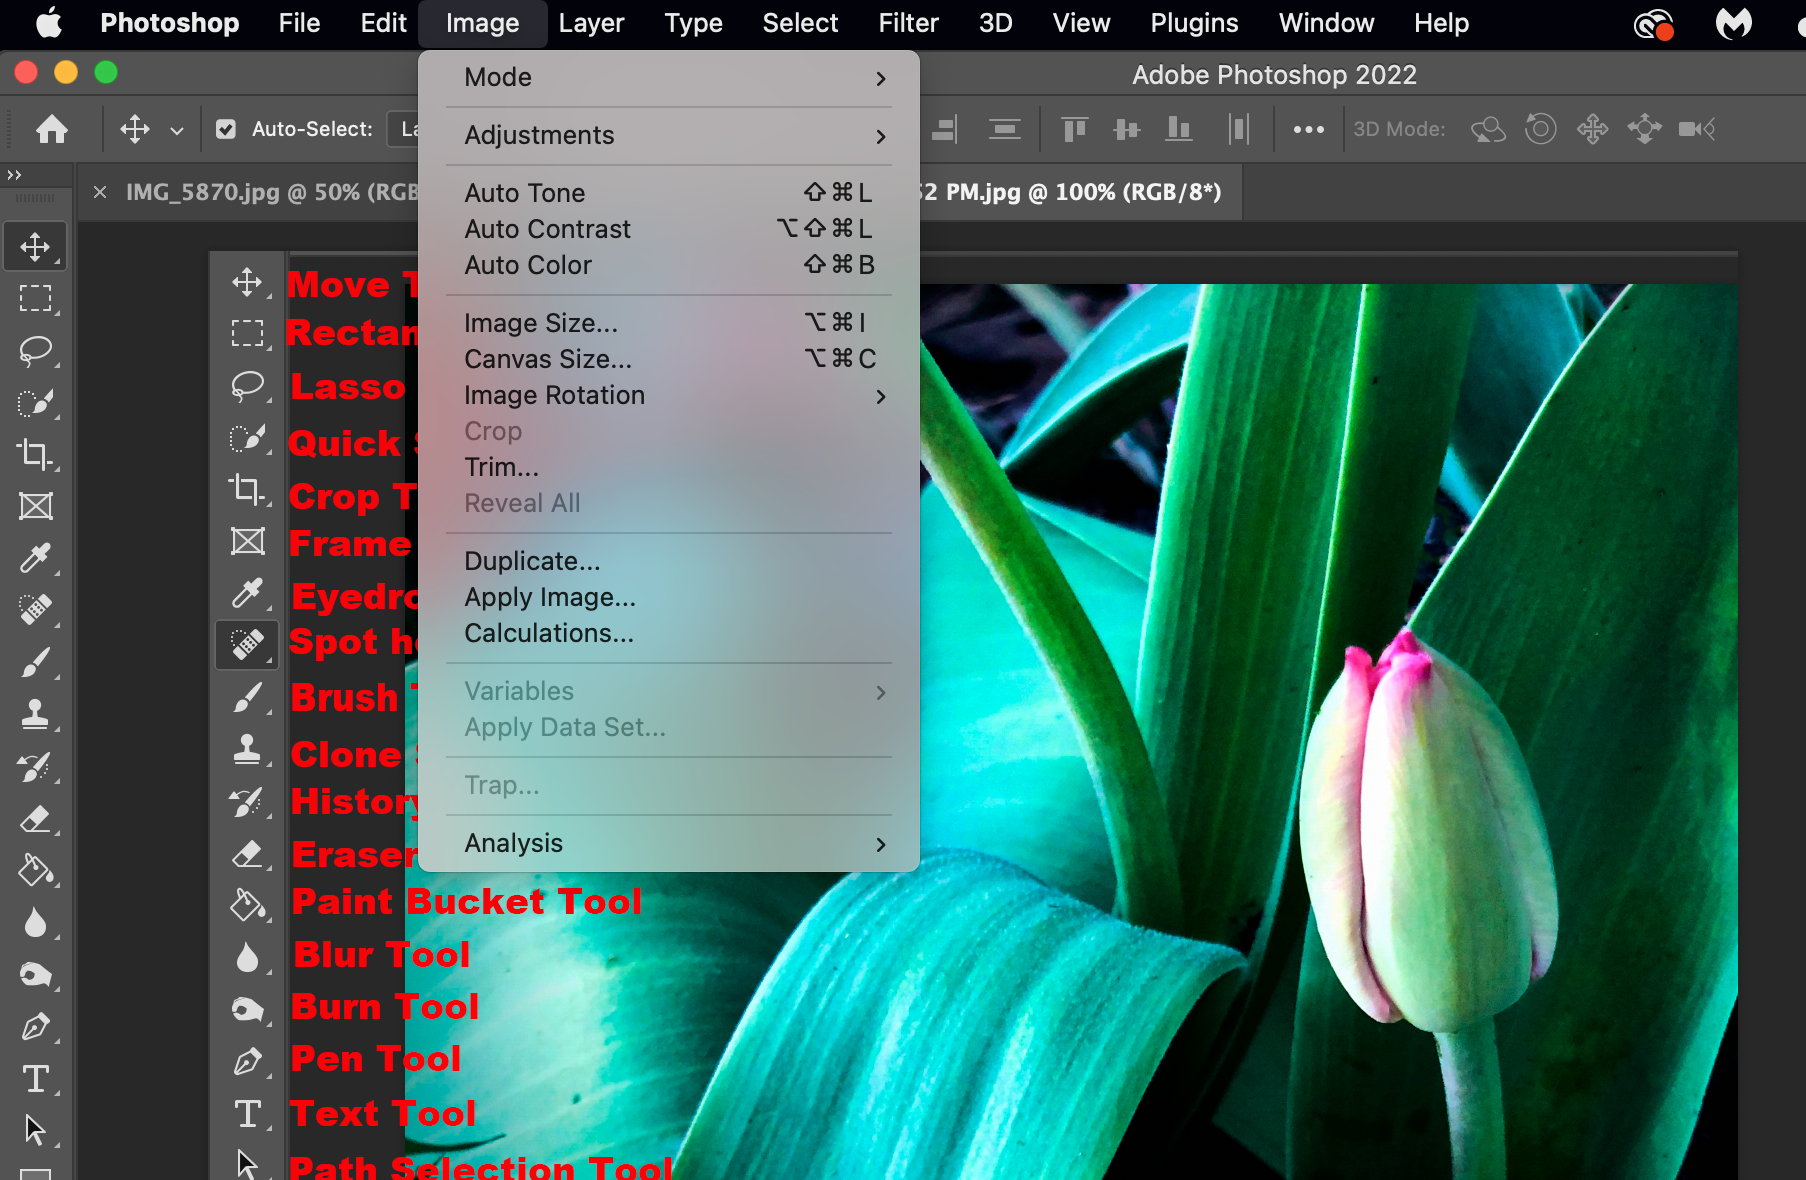
Image open in Photoshop

Tool bar break down. All Items with a small arrow open to other tools and have a multitude of uses. To open you need to right click and hold.
All Photographers have favorite tool and I am no different. I have used literally all these tools and for just a photo edit I may focus on the spot heal tool to remove imperfections or problem areas.
Other adjustments may come from the curves bar to further manipulate midtones, highlights, and shadows. The curves screen can be found in the top drop down menu under image.

For the most part that would be the extent of my post process. Which sounds very minimal and to a point is. Mostly because I am to create as much as possible in the camera frame. I can do more, I have done more. I have created actions and learned layers and so so so much more.
But I keep a tighter leash on my photoshop skills when it comes to photo editing and get a sweet, sweet release on those skills when I am creating. I use photoshop for graphic design, flyer creation, book covers, really anything. But my photography I like clean and natural. I do not want mattes and a lot of processing that will age the images in a few years, I want my work to reflect the natural event as it happened, the natural look.
I will say Adobe softwares are complicated and take time to learn, you can not open them and be a pro. In fact even after a decade using Adobe software there are things I keep forgetting and have to give myself a refresher every now and then.